In brief
Choose drainage around the route the water must take. Manual emptying suits a setup where someone can check and empty the bucket. Gravity drainage needs a suitable lower destination and a hose route that allows water to flow down. A compatible pump can move water to a higher destination within the model's limits. Check the owner's manual before choosing connections or a discharge location. GE Appliances drainage overview.
Compare bucket, gravity and pump drainage
Compare the three arrangements
| Arrangement | Best fit | Main practical requirement | What to verify |
|---|---|---|---|
| Bucket | You can check the unit and empty it reliably | Access to the bucket and a routine that matches how often it fills | Bucket fit, full-tank behavior, and handling instructions |
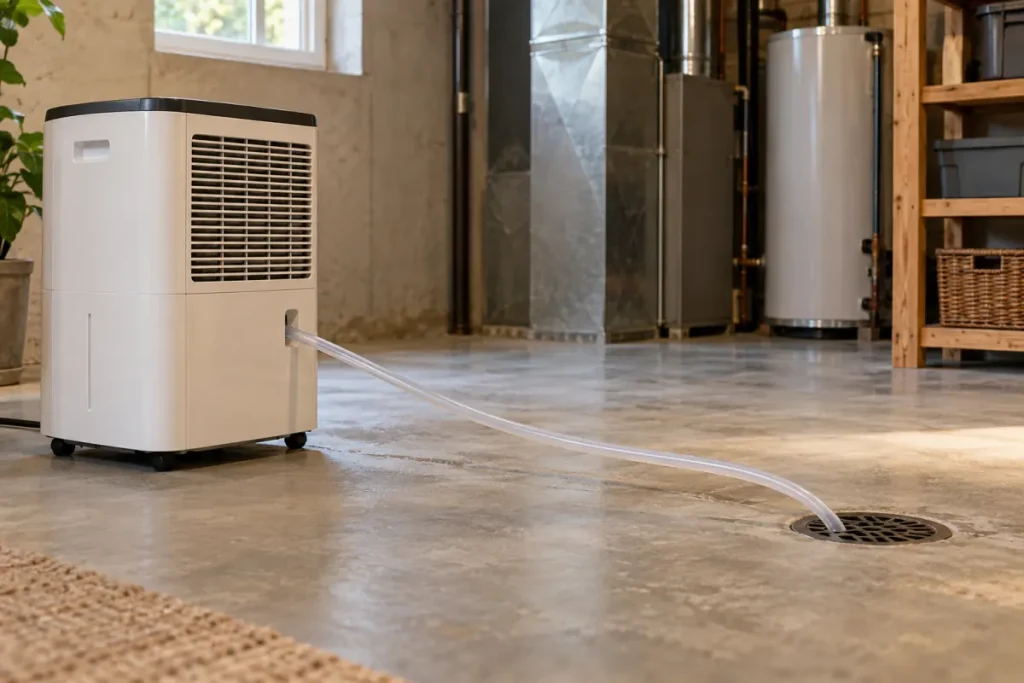
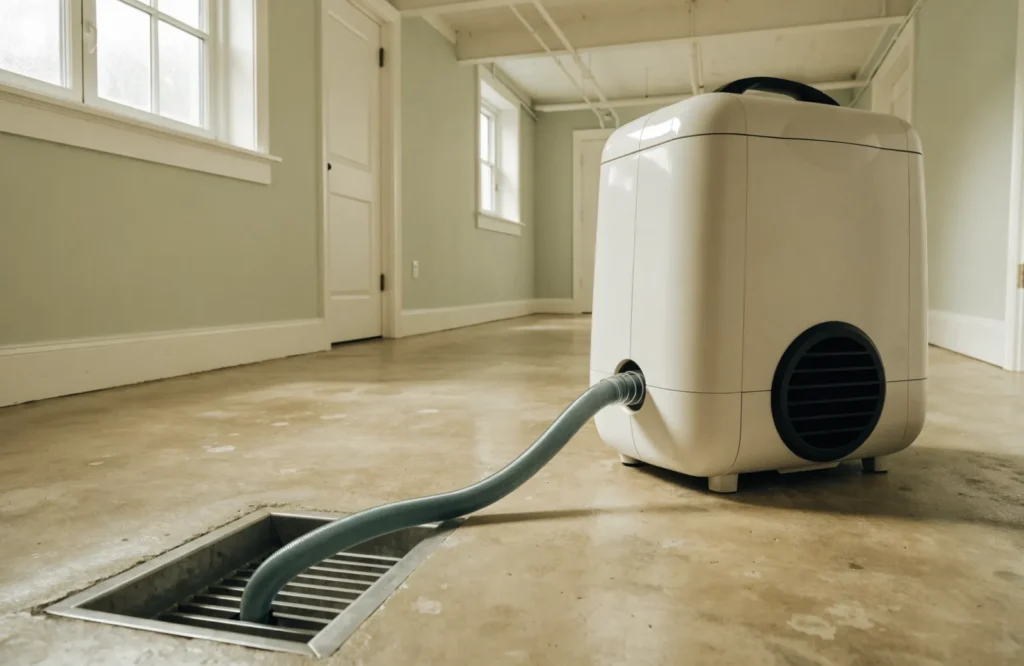
| Gravity drain | A suitable lower drain is reachable | A supported hose route without upward sections | Connection, slope, hose condition, and outlet position |
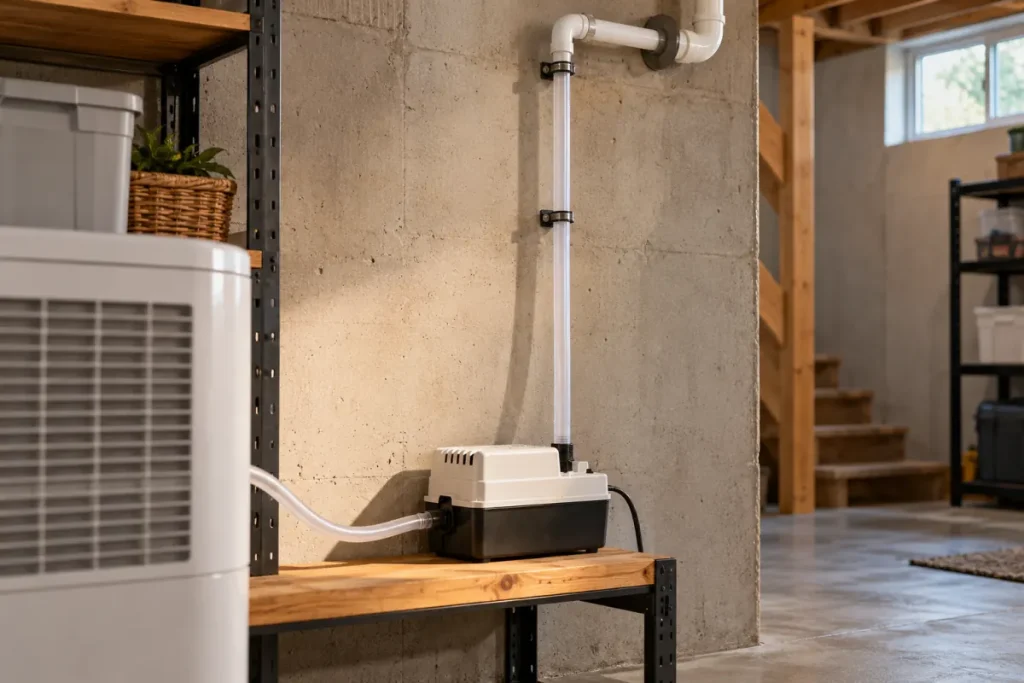
| Pump | Water needs to reach a higher suitable destination | A compatible pump and a route within its specified limits | Lift, tubing, activation, bucket requirements, and maintenance |
This compares drainage methods. It does not rate particular dehumidifiers or imply that we tested their pumps.
Map the water route before buying
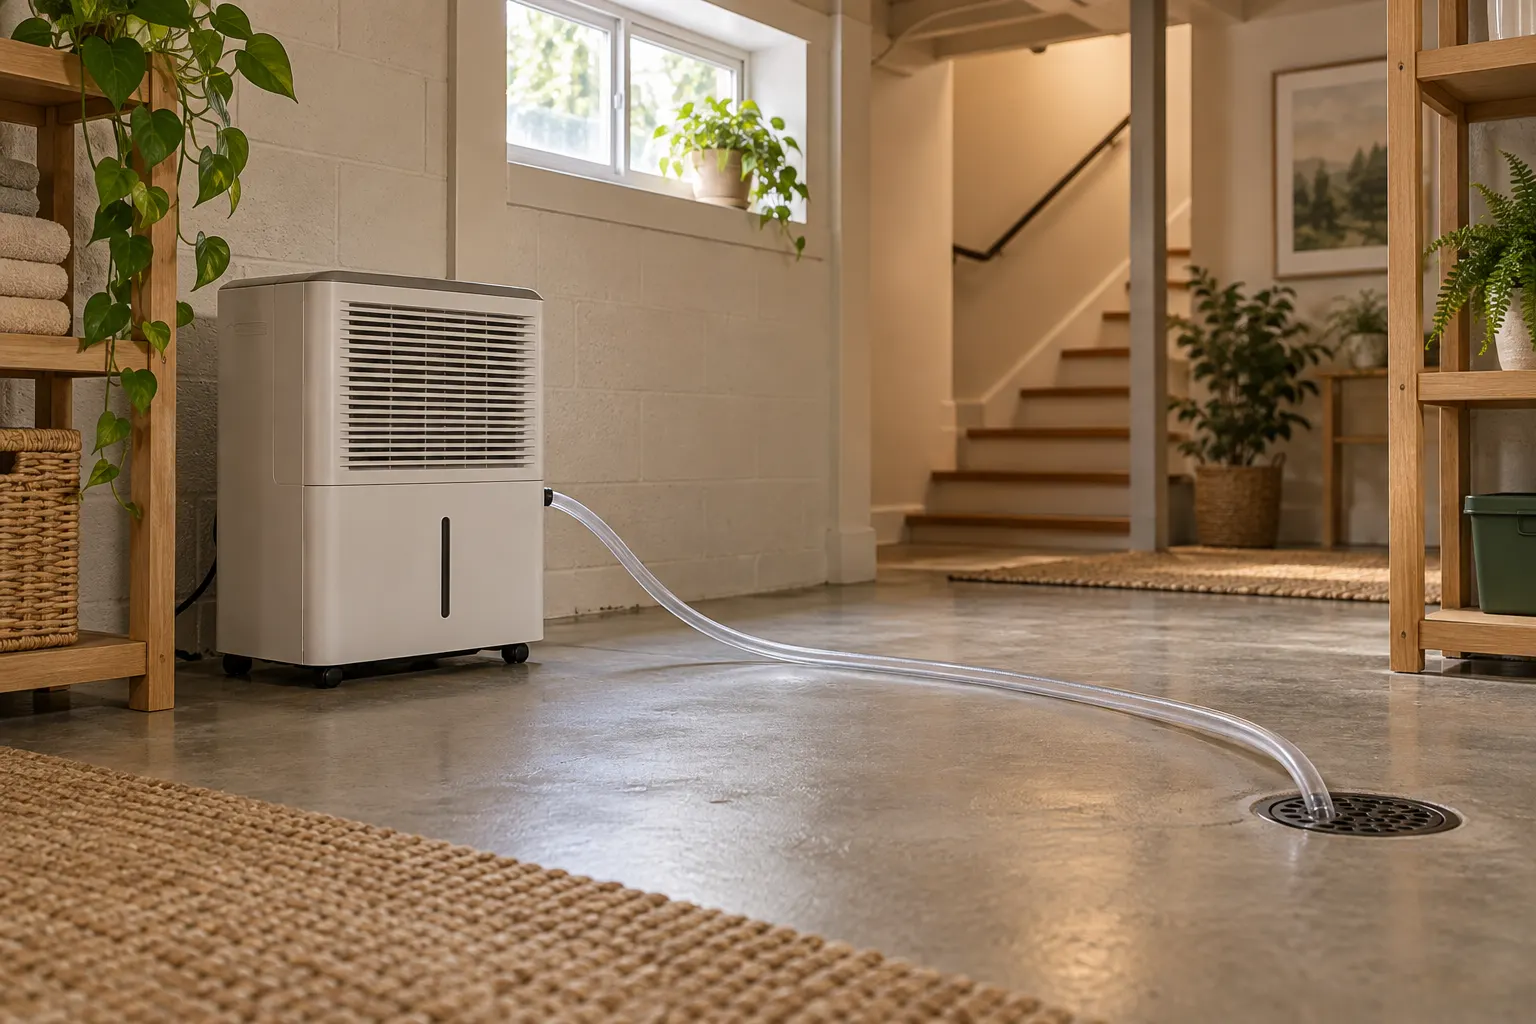
Sketch the unit’s position, a suitable destination, changes in height, and any doorway or walking route the hose would cross. Measure the full path rather than the straight-line distance. Ask whether the unit remains accessible for cleaning and whether the route needs to rise; these details narrow the drainage methods worth considering.
Check your exact model’s manual for connections, hose type and limits; parts are not interchangeable across units. Confirm that the discharge location is appropriate for condensate and permitted for your setup. A drain’s existence does not make every connection suitable. If the installation involves modifying plumbing or creates uncertainty about drainage, ask a qualified installer before proceeding.
Manual emptying keeps the arrangement simple
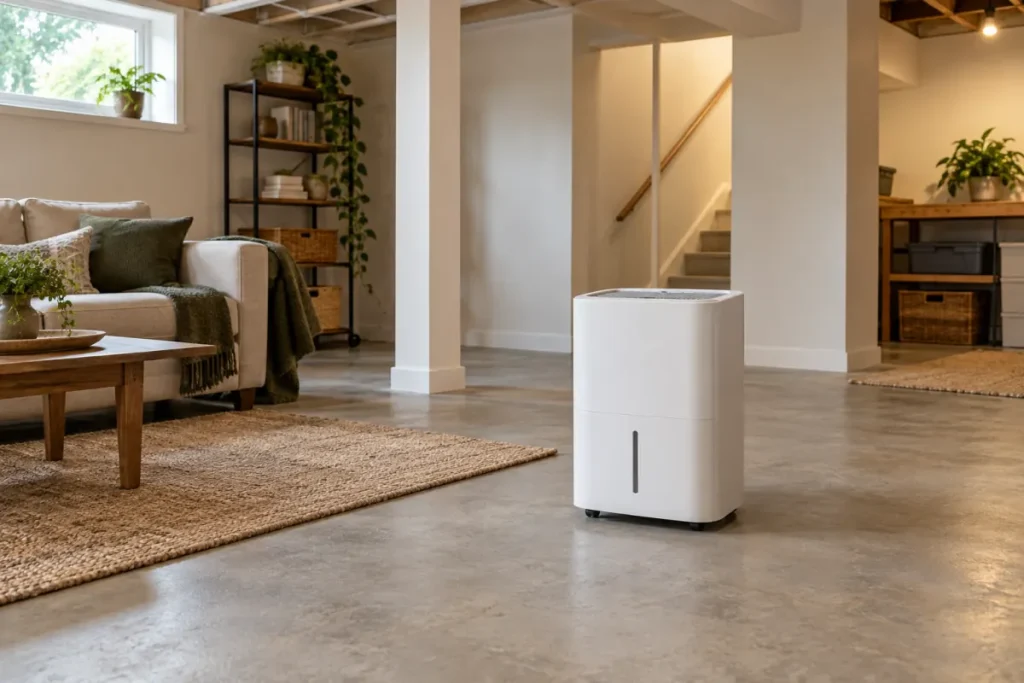
With bucket collection, you do not need to establish a continuous drainage route. The tradeoff is an ongoing task: someone has to notice when the bucket fills and empty it according to the instructions.
For the GE units described in its guidance, the bucket needs to be securely installed and the appliance stops when it is removed. Model behavior should be checked before you rely on it. GE bucket instructions.
Before choosing this arrangement, consider access and handling. Can you remove the bucket without moving the appliance or disturbing storage? Can you carry the collected water comfortably? A short observation period will show whether the emptying routine is realistic for the room and the people using it.
Gravity drainage depends on the whole route
A supported continuous drain can reduce the need to empty the bucket, but the hose route still needs inspection. A section that rises, a damaged hose, or an unsuitable outlet position can interrupt drainage.
GE's hose troubleshooting guidance recommends checking the connection, avoiding excess or damaged hose, keeping the route downward, and keeping the hose outlet above standing water in the drain. Follow the instructions for your model and unplug the appliance before the cleaning steps its manual permits. GE drain hose guidance.
Use the hose type and fittings specified for the unit. Do not assume that instructions for a garden-hose connection also apply to a pump connection with different tubing. Record the planned route and the model-specific limits before setting up. After setting up the supported route, observe the first water collection and drainage cycle and inspect for leaks. Continue checking the route during normal care.
A pump adds a different set of checks
Manufacturer demonstration
Watch a demonstration of bucket, gravity hose and pump drainage. Check the instructions for your exact model; this video is not an independent product test.
Watch the drainage demonstration on YouTube ↗
A pump is worth considering when a suitable destination requires upward movement. Its specified lift and tubing requirements matter more than the word “pump” in a product title.
Some GE models require the pump to be enabled and the bucket to be installed and full before pumping starts. This explains why a pump may not run immediately; it is a model-specific example, not a rule for all units. GE pump troubleshooting.
Use your exact model's lift and hose limits. Avoid extending tubing or copying another appliance's configuration without support from the manufacturer. Ask how you would notice a problem and how you would access the tubing for the maintenance the manual describes.
Built-in pump vs external condensate pump
A built-in pump is a feature of the dehumidifier itself. Check its pump outlet, specified tubing and activation instructions. GE’s guidance describes models whose pump starts only after the bucket fills; an installed hose alone does not tell you when pumping should begin. This is an example of model-specific behavior. GE pump guidance.
An external condensate pump is separate equipment with its own collection reservoir. Little Giant lists the VCMA-15 for condensate from dehumidification equipment, and its VCMA manual describes float-controlled starting and stopping. That application statement does not establish compatibility with every portable dehumidifier. Check the manuals for both pieces of equipment. VCMA-15 specification sheet and VCMA series manual.
Plan two water routes for an external pump: the appliance’s supported gravity outlet to the pump reservoir, then the pump discharge to the suitable destination. The VCMA manual places the inlet below the equipment’s drain; the practical consequence is that the first route still needs downhill flow. A pump at the end does not make an unsupported uphill inlet route work.
Before buying, verify the exact equipment combination, its specified lift and tubing, and how an overflow would be detected. High-water switches and alarms depend on the pump model and their actual connections; do not assume they will automatically stop the dehumidifier. If the supported arrangement needs electrical or plumbing work, have a qualified installer assess it. This comparison does not provide wiring instructions or imply that we tested either arrangement.
Three ordinary basement scenarios
The drain is not available, but the unit is easy to reach. Start by judging whether emptying the bucket is realistic for the people who use the space. Observe how often it fills under the conditions that matter to you. A simple bucket arrangement can be a sensible choice if the routine is dependable.
A suitable floor drain is lower than the appliance outlet. Gravity drainage may be worth considering if the model supports it and the entire hose route can remain downhill. The outlet and surrounding area still need regular checks. A continuous hose does not remove the need to notice a leak or obstruction. GE’s drain-hose guidance illustrates model-specific checks; apply the manual for your own unit.
Water must travel upward. Gravity alone will not move it up. Compare models or supported accessories with a pump and verify the specified lift and tubing route for the exact equipment. Do not assume that a pump’s advertised presence means it will work with any height or drain. GE’s pump guidance also shows that activation behavior can vary by model.
Watch the first drainage cycle
After a setup that the manufacturer supports, stay close enough to observe the first period of water collection. Check the connection, hose route, outlet and the floor around the appliance. Confirm that water is going where intended and that the bucket or alarm behaves as the manual describes. If something leaks or the route does not work, stop and correct the setup according to the instructions before leaving it unattended.
Keep the model number and the relevant manual page with your notes. If the bucket still fills while a hose is attached, that detail helps you distinguish a connection or routing issue from an assumption that the appliance automatically switches modes. Never bypass a bucket sensor, open electrical parts or improvise a connection the manufacturer does not support.
Choose a method you can maintain
If manual emptying is dependable, a bucket may be a reasonable start. If your model supports a downhill route to a suitable drain, compare gravity drainage; if water must rise, check compatible pump options and their lift limits. Record the model, method, hose, route and manual instructions for later troubleshooting. Drainage handles collected water but does not explain why the basement is damp. Use the humidity guide to track room conditions and the running-cost calculator to compare energy assumptions separately.