In brief
Choose a basement dehumidifier location by checking the exact model’s airflow, floor, temperature, electrical, and drainage instructions. Keep space for bucket removal and normal care. A position that looks convenient can still make the supported hose route or required clearance impossible.
Start with the model’s placement instructions
Find the model number and its owner manual. Locate the installation and placement diagrams before moving the unit into a corner or against furniture. Mark the intake, discharge, clearance requirements, and any restrictions for the intended room.
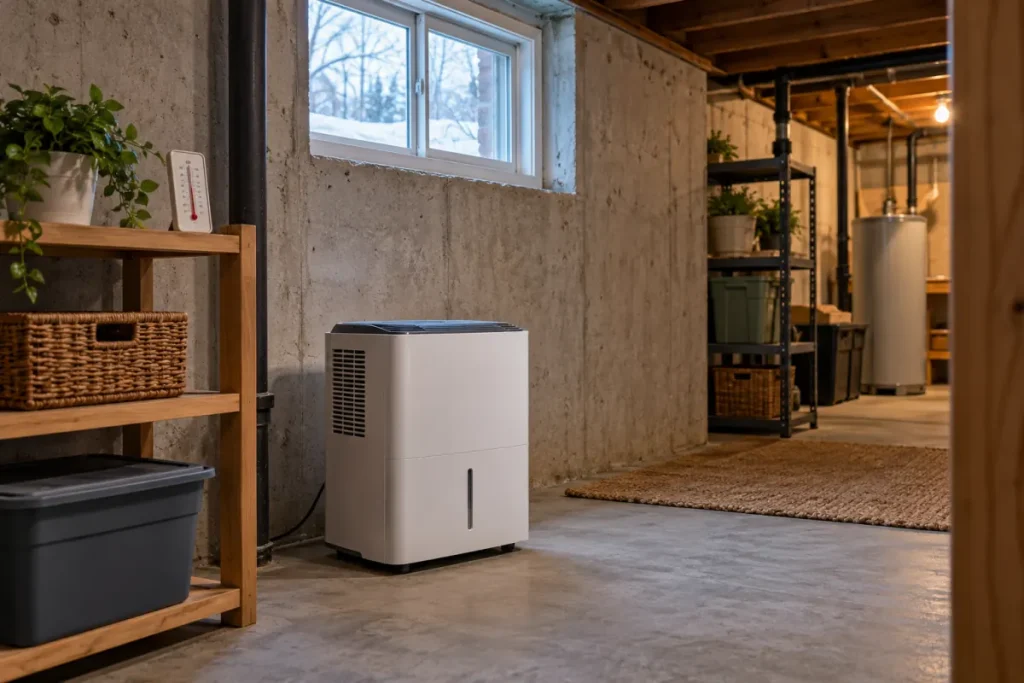
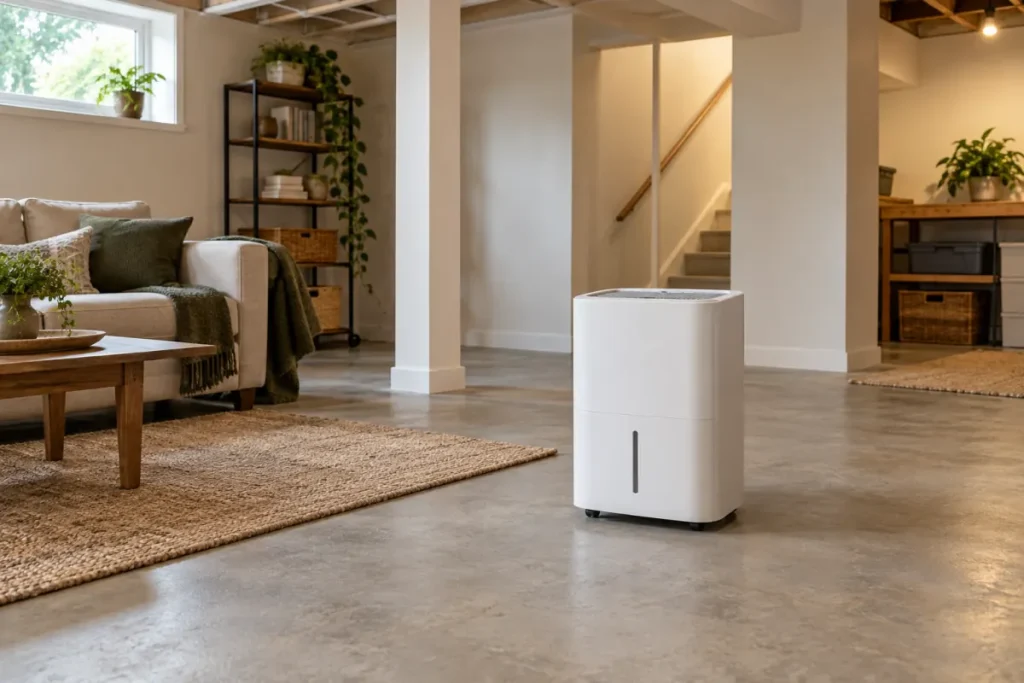
As a specific example, GE manual 49-5000545 Rev. 4 calls for a smooth, level floor that supports the unit with a full bucket and at least 18 inches of air space on all sides. Those instructions belong to the listed models. Do not apply that distance to every appliance or ignore your own manual because a generic guide allows wall placement.
Compare two or three possible positions
List the locations that could meet the model’s requirements. For each one, check the full arrangement, including normal walking routes and access for care. Use the following prompts to make the comparison visible. They are an editorial planning aid, not installation approval.
| Requirement | What to check | What to record |
|---|---|---|
| Airflow and clearance | Intake, discharge, furniture, and the manual’s required space | Measured clearance and applicable diagram |
| Floor and access | Supported surface and room for bucket removal and owner care | Any obstruction or unresolved condition |
| Room temperature | Observed conditions against the unit’s permitted range | Reading location, time, units, and manual limit |
| Electrical arrangement | Owner instructions and a suitable supply | Requirements needing qualified help |
| Drainage and walkways | The intended water route and safe access around it | Method, destination, and route sketch |
Plan drainage before choosing the final spot
If you intend to empty a bucket, leave room to remove and replace it as instructed. Decide how someone will check it during normal use. Our bucket-warning guide explains why the indicator and bucket position belong in the owner record.
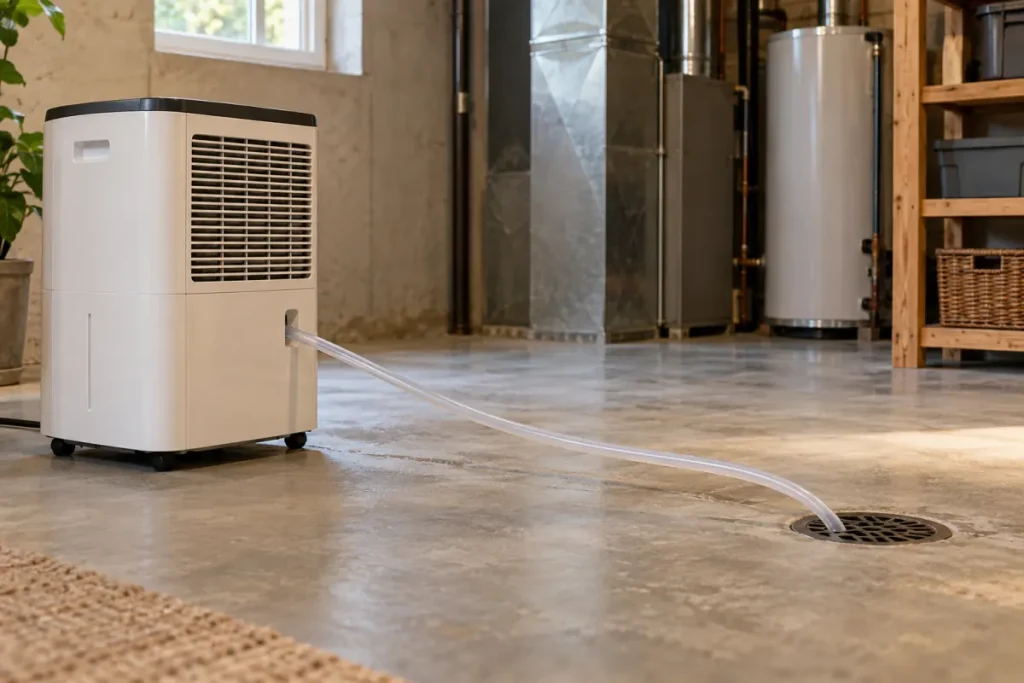
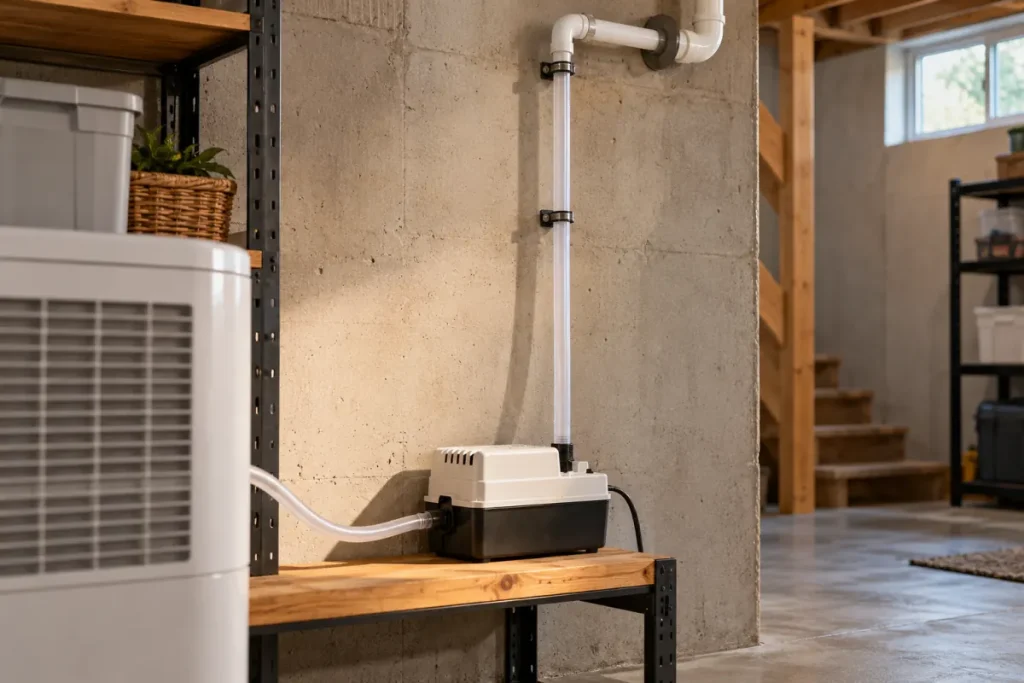
If you intend to use gravity drainage, trace the route to a suitable lower destination according to the model’s instructions. For pump drainage, record both the upward sections and total tubing path. The pump-lift guide and gravity planning checklist cover those different route questions.
Do not improvise an unstable raised platform just to make a hose route work. A suitable destination, supported floor arrangement, and safe electrical access need to work together. If a requirement cannot be met, revise the arrangement or ask for appropriate assistance before operating it.
Keep the monitoring position clearly named
The appliance’s chosen position and the location of a separate room meter are two entries to record. When you move either one, write down which moved and when. Use our hygrometer-placement guide for a consistent monitoring position.
For an illustrative planning note, you might label two candidates “open floor position A” and “storage-side position B.” Those labels organize your comparison; they do not mean either location is suitable. Leave unresolved requirements visible instead of selecting a position from its name.
Check the supported arrangement in use
After following the applicable setup instructions, observe the water route and keep the intake and discharge unobstructed. Continue checking accessibility as storage or furniture changes. A location approved against an empty room plan can become obstructed later.
If recorded humidity remains high, use the running-unit observation guide to keep placement, settings, and room conditions together. If you are still choosing equipment, use the buying checklist. These records help you resolve a requirement before purchasing parts or repeatedly moving the appliance.