In brief
A basement humidity log is most useful when each reading has a date, a consistent location, and a note about the conditions. Recording only the percentage makes it harder to tell whether a change came from the room, the meter's position, or the temperature. This guide gives you a simple observation routine and a tool for exporting your own readings.
Start with one question
Choose what you want to understand before you collect numbers. You might ask whether readings rise after rain, whether the room changes when the dehumidifier operates, or whether two parts of the basement behave differently. Those questions need slightly different notes. A record cannot establish a cause by itself, but it can help you describe the problem more clearly.
Our suggested routine is to take a reading in the morning and evening for several days, with an extra observation when something changes. This is an editorial suggestion for organizing observations, not a laboratory test or an official measurement standard. Follow your meter's instructions for placement, accuracy, and settling time.
Record the conditions with the percentage
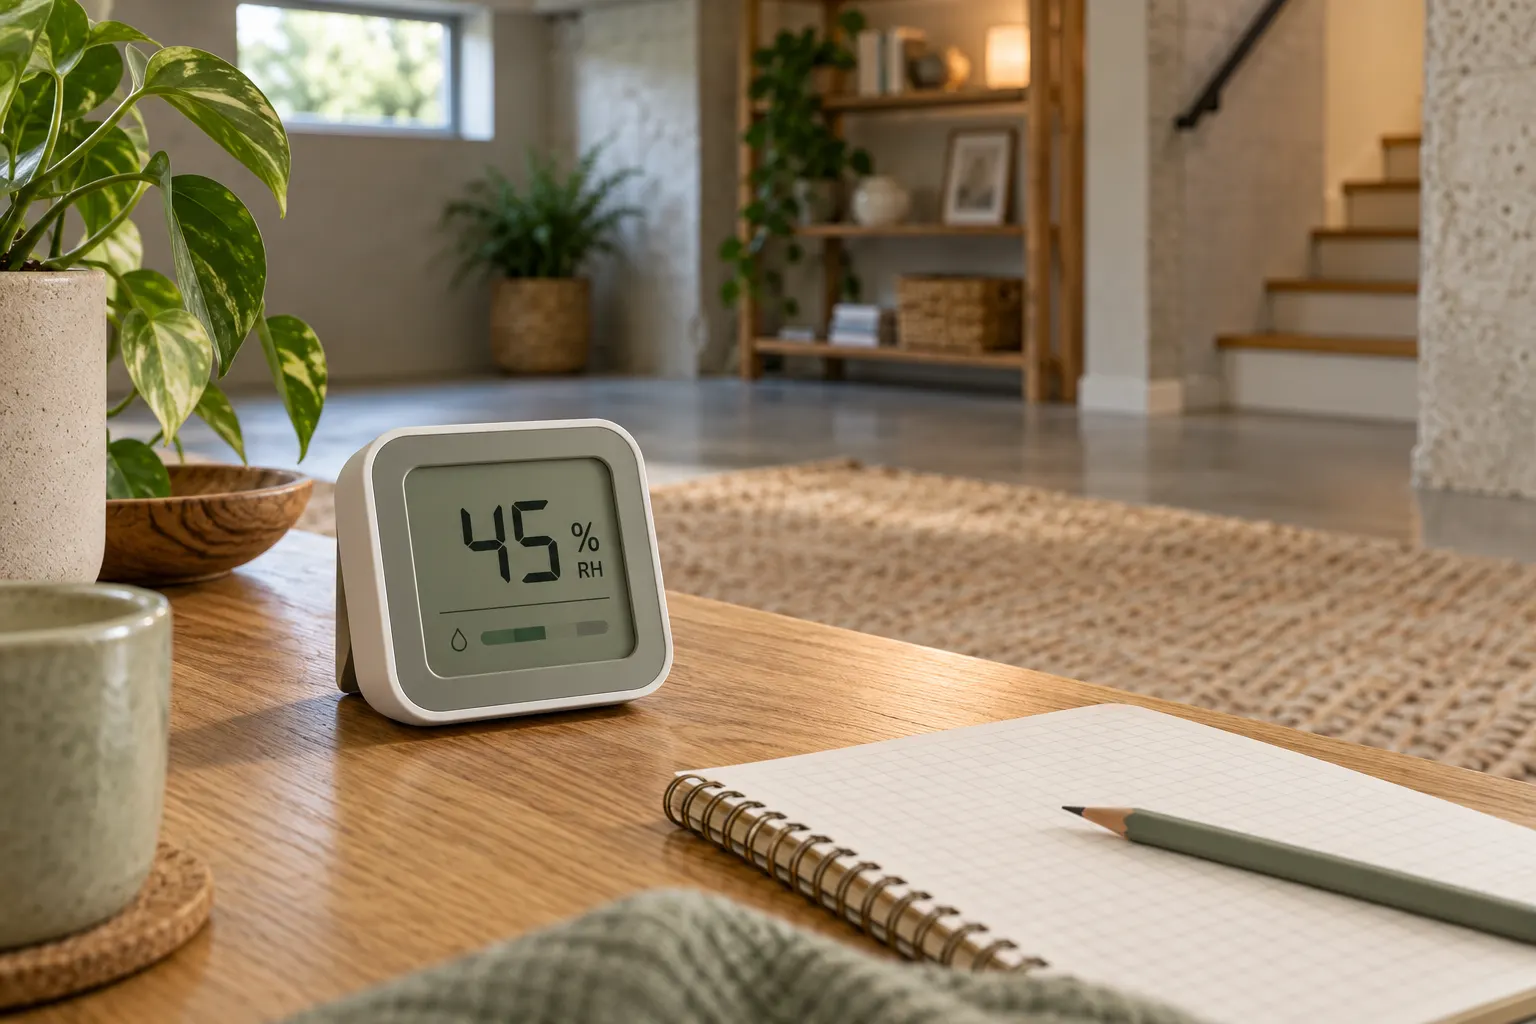
Relative humidity depends on temperature. If air cools without a change in moisture content, its relative humidity can rise. Record the temperature shown by your meter when available, and keep its unit consistent. A colder reading with a higher percentage does not automatically prove that more moisture entered the room. National Weather Service explanation of humidity.
Give the meter's position a useful name, such as “center shelf” or “near the basement stairs.” Use that same name on later readings from the same place. If you move the meter, add a new location or explain the move in the notes. For a room-level comparison, avoid treating a measurement in the appliance's discharge airflow as interchangeable with a measurement across the room.
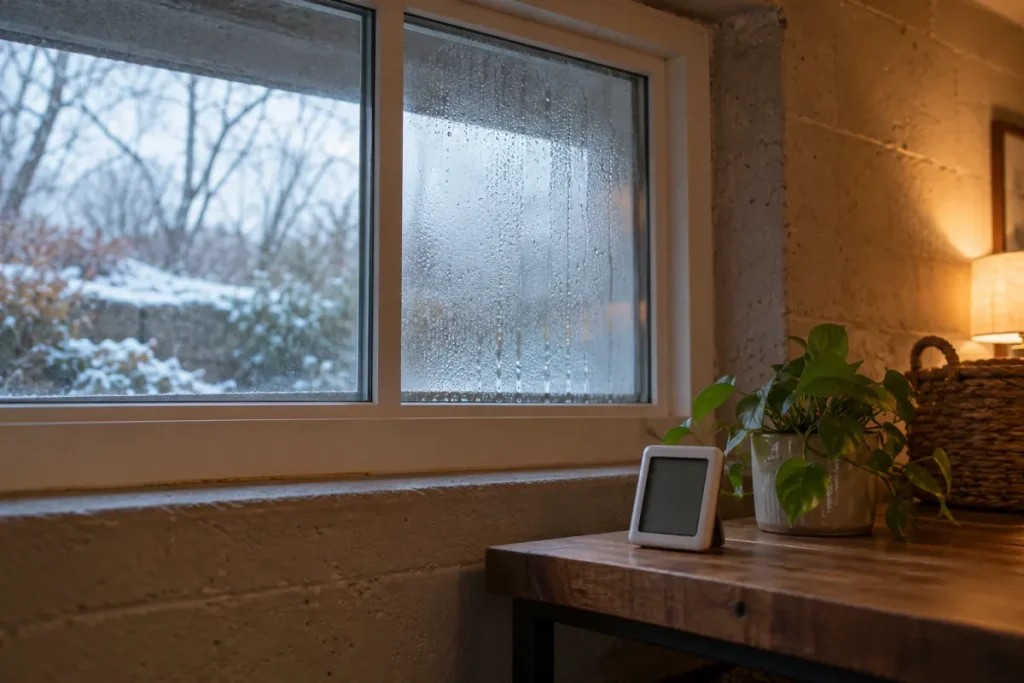
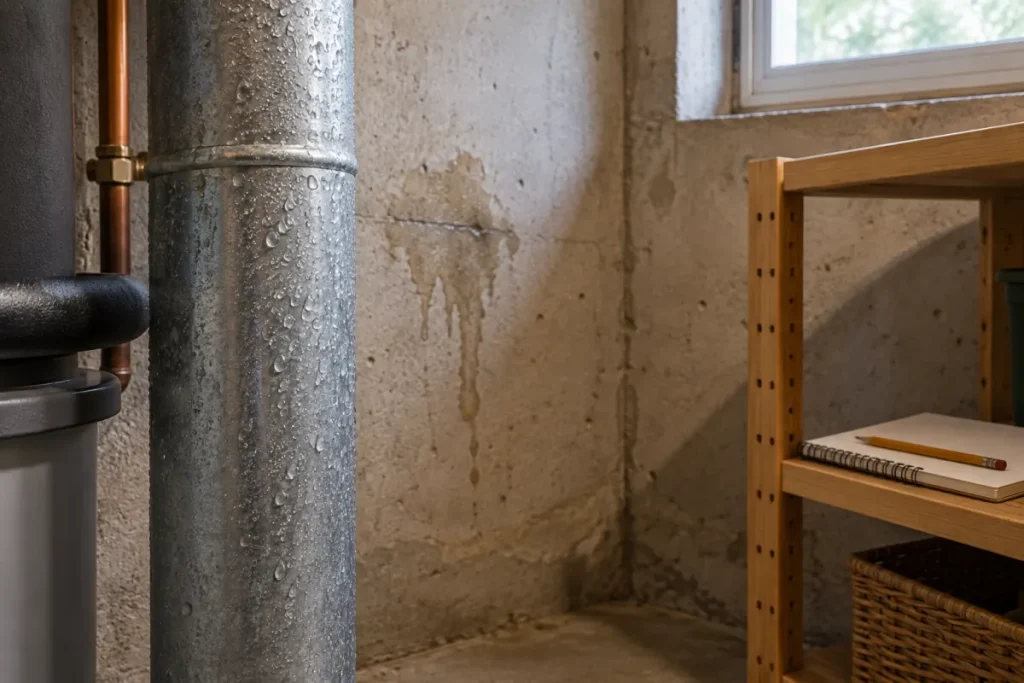
Add context you actually observed: recent rain, a window left open, laundry drying, the appliance operating, visible condensation, or a change in its setting. Leave a field blank or select “not recorded” when you do not know. An unknown observation is more honest than a guessed answer.
What a useful entry looks like
A useful entry says more than “58%.” It might read: “Tuesday, 7:30 a.m.; center shelf; 58% RH; 67°F; dehumidifier on; rain overnight; no visible water.” This is a fictional example of how to write a note, not a measurement made by Home Air Compass. The added context lets you compare it with a later entry from the same position instead of treating two percentages as interchangeable.
Do not make the form more complicated than you can maintain. If you can reliably record only the time, place, humidity and temperature, start there. Add the event that is most relevant to your question, such as rain or appliance operation. A modest, consistent log is more useful than a detailed form filled in once and abandoned.
Build and download a basement humidity log
Build your humidity log
Read your meter and add an observation. The tool keeps readings only while this page stays open. Download your CSV before leaving or refreshing.
No readings added yet.
Clear all readings from this page? Download your CSV first if you want to keep them.
The log records observations. It does not diagnose leaks, mold, or health risks. This tool does not send readings to the site or save them for your next visit.
The tool stores readings only in this open page. It does not upload them to the site or remember them after a refresh or a later visit. Add a reading, check the card that appears, and use Download CSV before closing the page. Keep that file as your record. The date and time are the local time you entered; the tool does not convert them to another time zone.
Temperature is optional and is entered in degrees Fahrenheit for this US edition. If your meter shows Celsius, use the empty spreadsheet log and label the temperature column with the unit you actually record, or convert the reading consistently before using the tool. Do not enter a Celsius value into a Fahrenheit field without conversion.
CSV columns also include space for an appliance setting, windows and doors, and weather notes. The on-page form leaves those separate columns blank; you can record the details in its notes field or add them to your downloaded spreadsheet. The tool starts empty. None of the readings are sample measurements presented as results from our team.
Compare like with like
After several days, group readings by location and compare similar times and temperatures. Check appliance status, visible water, condensation, and other notes before interpreting a percentage. The log can show when a condition changed; it cannot identify what is happening inside a wall or isolate several changes made at once.
For example, if humidity drops when you turn on a dehumidifier but rain also stops that day, keep both events in the notes. This is useful information, not a controlled test of the appliance. A later observation under more comparable conditions may clarify the pattern. Use the running-cost calculator separately to estimate electricity use.
Keep readings that do not fit the pattern. If an entry is wrong, correct it in the open-page tool; after downloading, preserve the original file and explain changes in a working copy. EPA recommends keeping indoor relative humidity below 60%, ideally between 30% and 50% where possible. Use that guidance alongside physical conditions: a reading within the range does not explain visible water, and one above it does not identify the source. EPA guidance on moisture control.
A simple review routine
- Check that each entry has a date, time and named location.
- Compare like with like: same position, similar time and temperature where possible.
- Highlight visible water or condensation as separate observations.
- Write one sentence about what changed and one question the record cannot answer.
- Choose the next action: monitor, inspect a moisture source, review the appliance manual or seek qualified help.
When the record points to a water-handling problem, move to the drainage comparison. When it points to a basic interpretation question, return to the basement humidity guide. The link should follow the reader’s decision, rather than send everyone to the same next page.
Use the log to ask for better help
If you need advice from a landlord, contractor or appliance manufacturer, a short summary is easier to act on than a long list of unexplained numbers. Include the room and meter location, when you first saw the issue, whether water is visible, what changed after rain, the appliance model if relevant, and the observations you made before and after one adjustment. Attach the CSV only when it helps answer the question.
Keep the original file when you correct or annotate a copy. That preserves the sequence of observations and prevents an edited spreadsheet from appearing to be the first record. Avoid putting personal details in a file you plan to send. The browser log does not send readings to this website; the downloaded CSV is under your control.
Turn the record into a useful next step
If readings stay high, review moisture sources and the appliance's instructions rather than repeatedly lowering its setting. If you see water entering, record the location and timing and address the source. For rented property, report leaks and moisture problems to the owner or manager. EPA emphasizes fixing the water problem as part of moisture control. EPA homeowner and renter guidance.
Use our basement humidity guide to put readings in context. When you change drainage or operating arrangements, the drainage comparison helps organize the setup checks, and the running cost calculator lets you compare energy scenarios using your own inputs. Keep those cost estimates separate from measured humidity: spending more does not, by itself, show that the underlying problem has been solved.