In brief
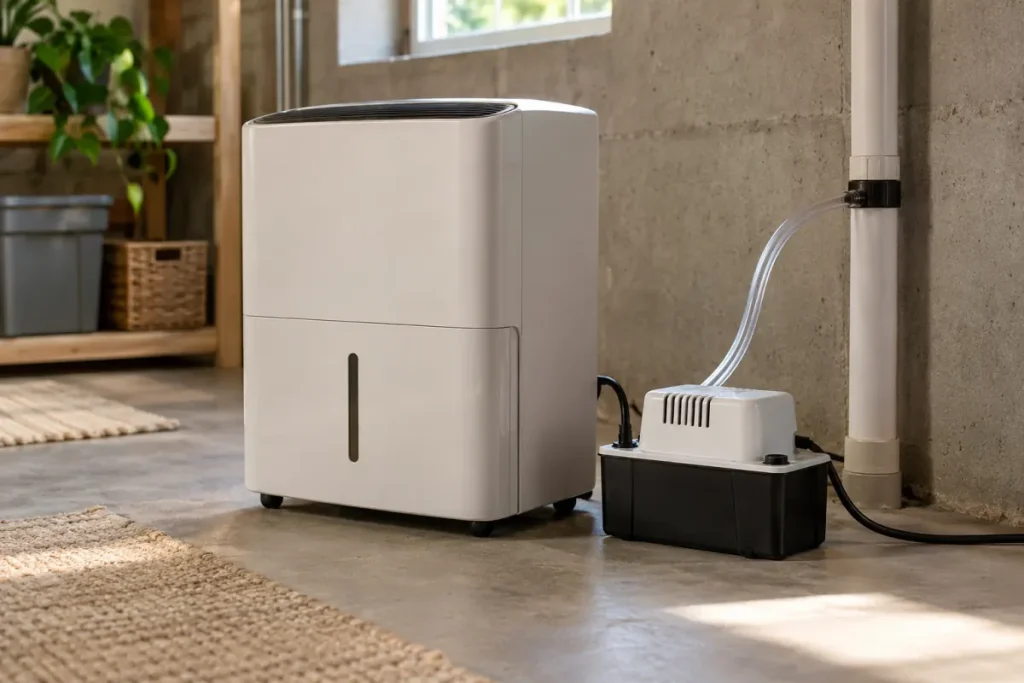
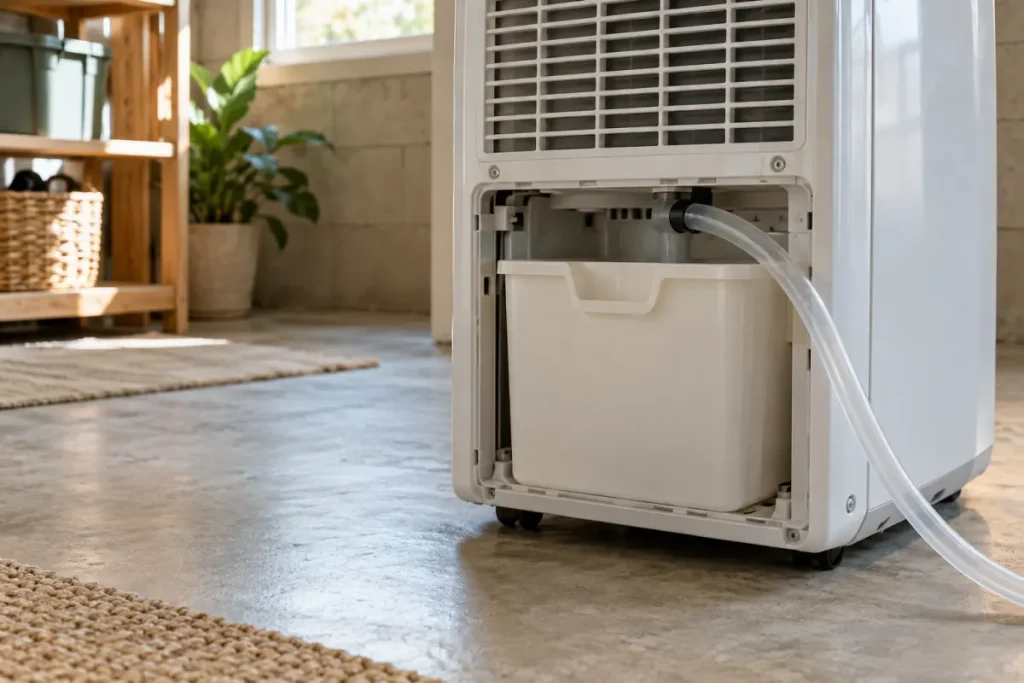
If a dehumidifier’s bucket fills with a drain hose attached, first identify which drainage method and port you are using. A pump setup may collect water in the bucket before pumping; a gravity hose depends on the supported connection and downhill route. The presence of a hose alone does not tell you whether the observed bucket level is expected.
Name the method before changing anything
Find the exact model and its drainage instructions. Record whether you intend to use the bucket, gravity drainage, or an internal pump. Identify the port and hose against the manual’s diagram. A garden-hose connection and a pump-tubing connection should not be treated as interchangeable.
GE’s drainage overview describes pump equipment that collects water in an installed bucket until its pump cycle starts, and notes that pumping may leave water behind. That example can explain some bucket water with pump tubing attached. It does not establish the expected level for your model or authorize removing the bucket during operation.
For gravity drainage, inspect the external route
With the appliance off and unplugged as directed before handling or cleaning it, use the owner instructions to inspect the accessible connection and hose. Keep water away from the electrical supply. If water has reached electrical parts or standing water makes access unsafe, stop and seek appropriate help rather than reaching for the plug.
GE’s hose-support page identifies connection leakage, damaged hose, an outlet touching water, and unsuitable routing as checks for the equipment it describes. A loose connection can send water into both the bucket and hose. Use your exact manual for fittings and owner cleaning; do not transfer a generic tightening or brushing procedure to an unfamiliar connector.
Trace the route visually from outlet to destination. Note where it rises, bends, is compressed, or ends in water. Compare the arrangement with the instructions rather than merely noting that the drain is nearby. Our gravity-drain planning guide covers recording a supported route before use.
Write down where the water goes
| Observation | What to record | Question for the manual or support |
|---|---|---|
| Water collects in the bucket | Method, level, and whether discharge was observed | Is bucket collection part of this method? |
| Water appears at the hose joint | Exact joint and visible condition | Are the connection and parts correct? |
| No water is seen at the destination | Route, observation time, and unit controls | Was a drainage cycle expected? |
| The unit stops with a full-bucket signal | Exact indicator and bucket position | Which owner checks are specified? |
These are observation prompts, not diagnoses. Describe water at the connection as water at the connection; do not label it a failed valve or blocked internal passage without a supported assessment. The blank support log can hold the date, settings, and sequence.
Check the result of one supported change
If the manual gives an applicable owner correction, carry it out as directed. Record what changed, then observe the next permitted collection and drainage cycle. Check the accessible connection and destination. Avoid changing several settings, hoses, and bucket arrangements at once, because that makes the result harder to explain.
Do not remove a bucket to force hose drainage or bypass its switch. If the setup still sends water to the wrong place, stop relying on unattended drainage and contact the manufacturer with the record. Supply the model, intended method, hose details, route description, and photographs of the accessible setup if safe.
Use the guide for the actual symptom
If pump activation is the question, continue with the pump-start guide. If the appliance is not collecting water anywhere, use the no-water guide. For a planned change of method, compare bucket, gravity, and pump options before buying parts.