In brief
A useful first step is to measure your basement's relative humidity and record the conditions around the reading. EPA recommends keeping indoor relative humidity below 60%, ideally between 30% and 50% where possible. A number within that range does not rule out a leak or a wet surface. If you can see water entering the basement, address that source rather than waiting for a humidity reading to explain it. EPA moisture guidance.
What the percentage tells you
Documentary reference
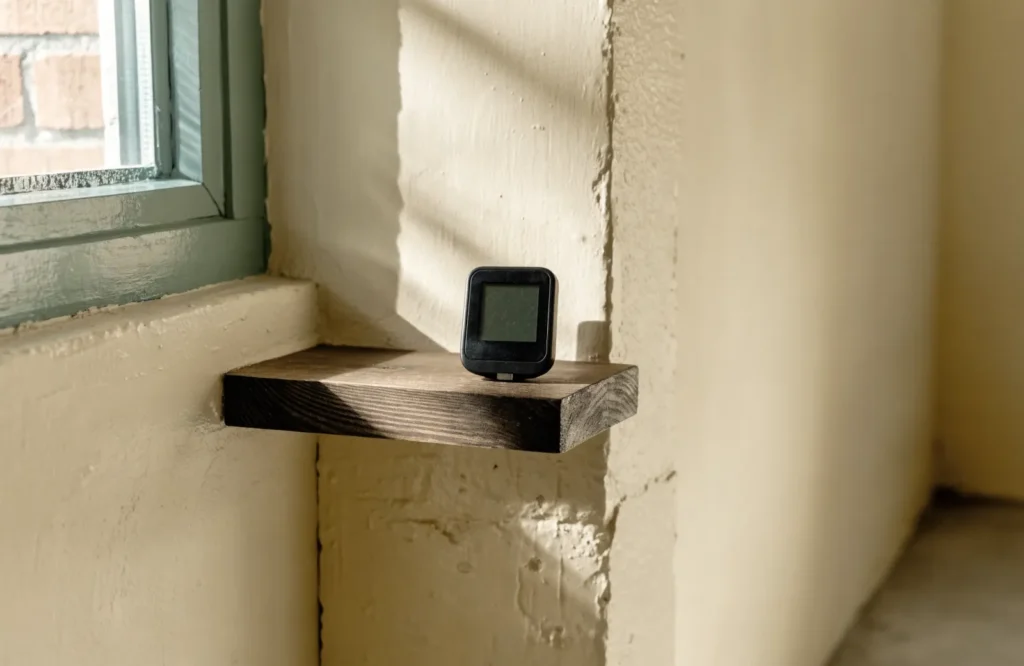
A photographed digital hygrometer and thermometer can help you recognize the kind of instrument discussed here. This device is an example, not a recommendation.
View the photograph on Wikimedia Commons ↗
Relative humidity describes how close the air is to saturation at its current temperature. Temperature matters: cooling air can raise its relative humidity even when its moisture content has not increased. That is why a basement reading and an upstairs reading need some context. Record temperature alongside humidity whenever your meter provides it. National Weather Service explanation.
A reading is a snapshot of the air around the sensor. It does not measure moisture inside a wall, identify a leak, or tell you whether every corner has the same conditions. Use the number to ask a better question: when does the humidity rise, where does it happen, and what else changes at that time?
A better first question than “Is this number bad?”
Imagine two basements that both show 55% relative humidity. In one, the reading has stayed similar for days and the floor and walls look dry. In the other, a dark patch appears after rain. The number is the same, but the next action is not. The second room needs attention to the water source. A dehumidifier may change the air reading while leaving the reason for the wet patch untouched. That is why we use humidity as one observation in a wider picture, rather than a verdict on the room. EPA guidance puts moisture control and repair of water problems together.
A useful first pass has three parts: the reading, the surroundings, and the timing. What does the meter show? Where is it placed, and what are the temperature and visible conditions? Did the change follow rain, a plumbing event, laundry drying, or a change in the appliance? Those questions give you a more actionable record than repeatedly checking the display without writing anything down.
Walk the room before changing a setting

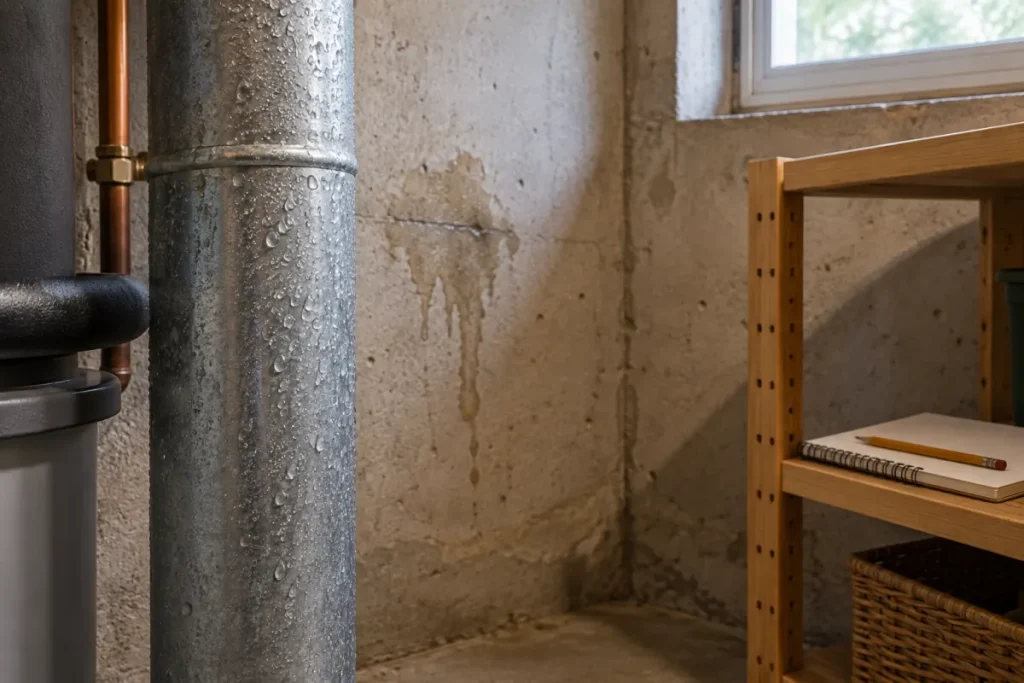
Spend a few minutes looking for signs that the air reading cannot explain on its own. Check for visible water, damp materials, condensation on cool surfaces and a musty odor. Note where a sign appears and whether it comes and goes. You are collecting observations, not diagnosing a wall assembly or a health condition. If you find active water entry or damage, address that issue promptly and seek qualified help where the source or safe response is unclear.
- At the floor and walls: note a wet patch, staining or materials that feel damp. Record the location rather than assuming the cause.
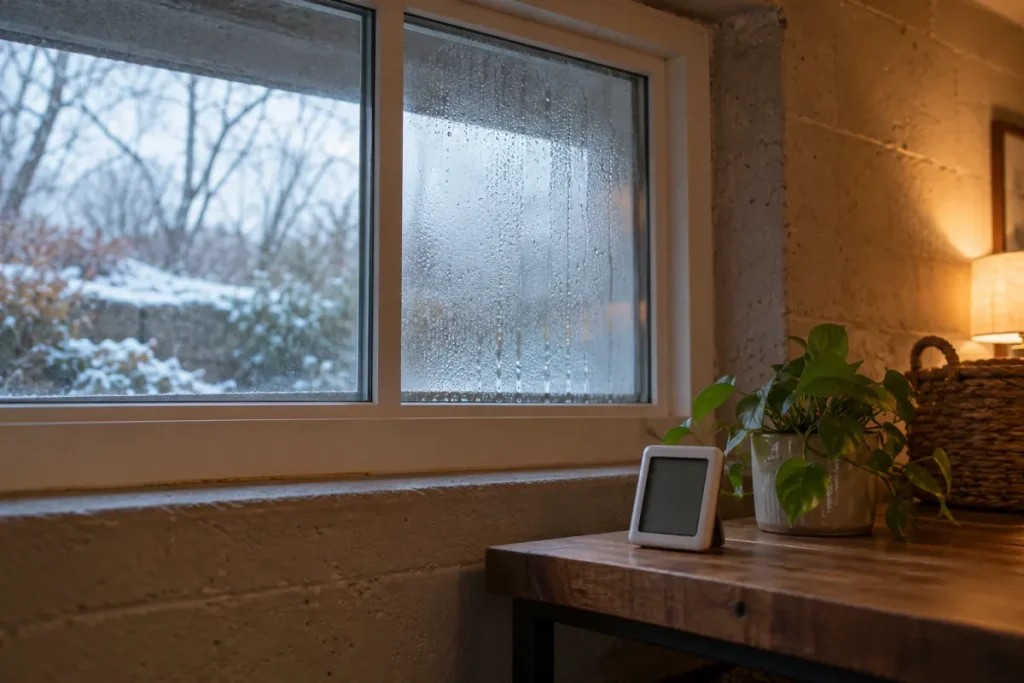
- Near windows and pipes: look for visible condensation and note the surface and time of day.
- Around the appliance: record whether it was running, whether the bucket filled and which mode it used. The display on the unit is not automatically a room-wide measurement.
- After a change: record what you changed and when. A later reading is easier to interpret if you know which conditions were different.
For a repeatable record, use the basement humidity log. It makes the room and time part of every observation. If water enters after rain, write that down even if the percentage happens to be within a normal-looking range at the moment you check it.
Record readings for a week
Choose a place that represents the area you want to manage. Follow the instructions for your exact meter on placement and settling time after a move. For your first comparison, avoid placing it directly in the dehumidifier's discharge airflow: that would answer a different question from the general room conditions.
Start a simple log for several days. Our suggested observation routine is morning and evening, with an extra note after heavy rain or a noticeable change. This is a practical way to build a comparison, not an official testing standard. Record:
- Date, time, and location.
- Relative humidity and temperature, if available.
- Whether the dehumidifier was operating.
- Whether doors or windows were open.
- Recent rain, laundry drying, visible water, or condensation.
Use the same location for comparisons. If you move the meter, write down the move. A reading from a different room should not silently replace the previous observation. Download the empty humidity log to record this routine in a spreadsheet. Use the on-page humidity log when you want to enter readings and download them from the browser.
Three mistakes that make readings less useful
Comparing unlike locations. A meter next to a dehumidifier outlet and a meter in a far corner are answering different questions. Keep one location for a baseline, then deliberately make a second record if you want to compare zones.
Forgetting temperature. Relative humidity is tied to air temperature, so a percentage can shift when air cools without proving that a new leak has started. Keep temperature alongside the reading when your meter provides it. The National Weather Service explains the relationship.
Treating the target as the entire solution. Lowering a dehumidifier set point may make the machine run longer. It does not seal a leak or fix a poor drainage route. Check what the equipment is accomplishing, then use the running-cost calculator if you want to understand the energy side of the change.
Choose the next step from the pattern
| What you observe | Useful next step |
|---|---|
| Readings are generally within the EPA guidance and there is no visible water problem | Keep the log as a baseline before changing equipment or settings |
| Readings repeatedly exceed 60% | Check likely moisture sources and whether the existing equipment is operating as intended |
| Water appears after rain, a pipe leaks, or a wall is visibly wet | Investigate the water source promptly; a dehumidifier may help manage air moisture but cannot repair the source |
| Condensation appears even when the room reading looks moderate | Record the affected surface and conditions; an air reading alone cannot explain every cold surface |
| The meter and the dehumidifier display disagree | Check display meaning, locations, and instructions before treating either reading as a precise reference |
The table is an observation guide. It does not identify the cause of dampness or declare a room safe. EPA's guidance emphasizes fixing the water problem as part of moisture control. EPA guidance.
After several days, group readings from the same place and similar times, then read the notes beside them. A rise after rain differs from a rise when a full bucket stops the unit; neither proves a cause. Choose one next action you can explain: continue monitoring, investigate water entry, check a supported appliance setup, or seek help. If drainage is the obstacle, compare a bucket, gravity hose and pump before buying accessories. Keep uncertain observations rather than calling a guess a diagnosis.
Set up the dehumidifier around your conditions
Check the owner's manual for the unit's operating temperature, placement, and humidity controls. Select a target within the guidance that suits the room, then observe whether the room reading approaches it. Lowering the setting repeatedly is a poor substitute for checking why the space remains damp.
Water collection also depends on how the appliance removes and disposes of water. A unit using its bucket needs attention when that bucket fills; a continuous drain needs an appropriate route. Our comparison of bucket, gravity, and pump drainage helps you choose a setup that matches your basement.
If you are assessing the cost of longer operation, use your own power and electricity-rate figures in the dehumidifier running cost calculator. Keep the humidity log alongside the cost estimate so that a change in spending can be compared with a change in conditions.
When to get help
Visible water damage, suspected hidden mold, or contaminated water needs a more specific response than a general humidity target. EPA provides guidance on when professional help is appropriate. If you rent, report leaks and moisture problems to the property owner or manager. EPA homeowner and renter guidance.
For routine monitoring, the next step is straightforward: keep a consistent log, connect readings to observations, and check the result after each change. That gives you a more useful basis for decisions than chasing one percentage on the display.