In brief
A gravity drain needs more than a hose that fits. Before connecting one, confirm that your exact dehumidifier supports gravity drainage, that the water can travel downhill to an appropriate destination, and that the connection follows its manual.
This checklist helps you plan and inspect the arrangement. It does not replace your model’s installation instructions. If you have not decided how to remove collected water, start with our bucket, gravity drain, and pump comparison.
1. Find the instructions for the exact model
Record the model number from the appliance and locate the manufacturer’s manual. Similar-looking units may use different drain ports, plugs, hose connections, or pump controls. A hose supplied for a pump is not automatically the hose specified for gravity drainage.
GE Appliances’ drain-hose guidance directs owners to their specific model’s manual and discusses connections, downhill routing, damaged hoses, and submerged hose outlets. These are useful checks, but GE’s hardware instructions are not universal instructions for other brands.
2. Describe the route before buying accessories
Download the gravity-drain planning checklist and record the proposed path. Our checklist is an editorial planning aid, not an installation standard.
| Check | What to record | If unresolved |
|---|---|---|
| Drainage mode | The manual section identifying gravity drainage and its outlet | Do not identify a port by appearance alone |
| Hose and connection | The specified connection, hose requirements, and any seals or adapters | Ask the manufacturer before purchasing an improvised adapter |
| Route | Outlet position, destination, and any rise, kink, or pinch along the path | Reconsider the arrangement rather than forcing gravity drainage uphill |
| Destination | Where the water will go and who has confirmed that destination is appropriate | Ask the property manager or a qualified plumber |
| Placement | A stable position and the model’s airflow and access requirements | Resolve placement before operating with the hose attached |
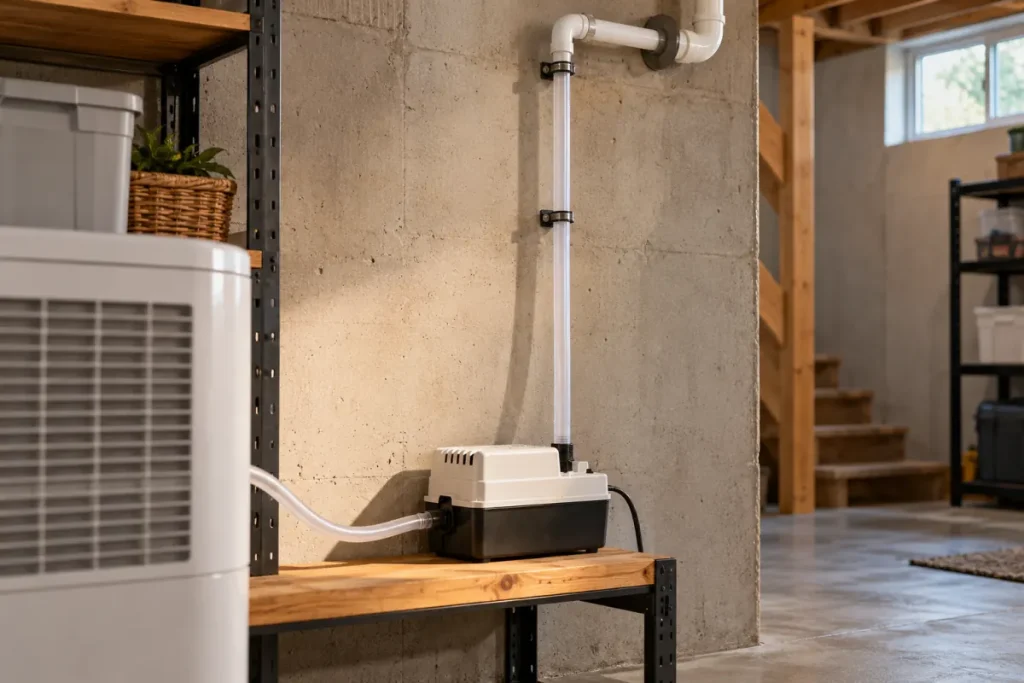
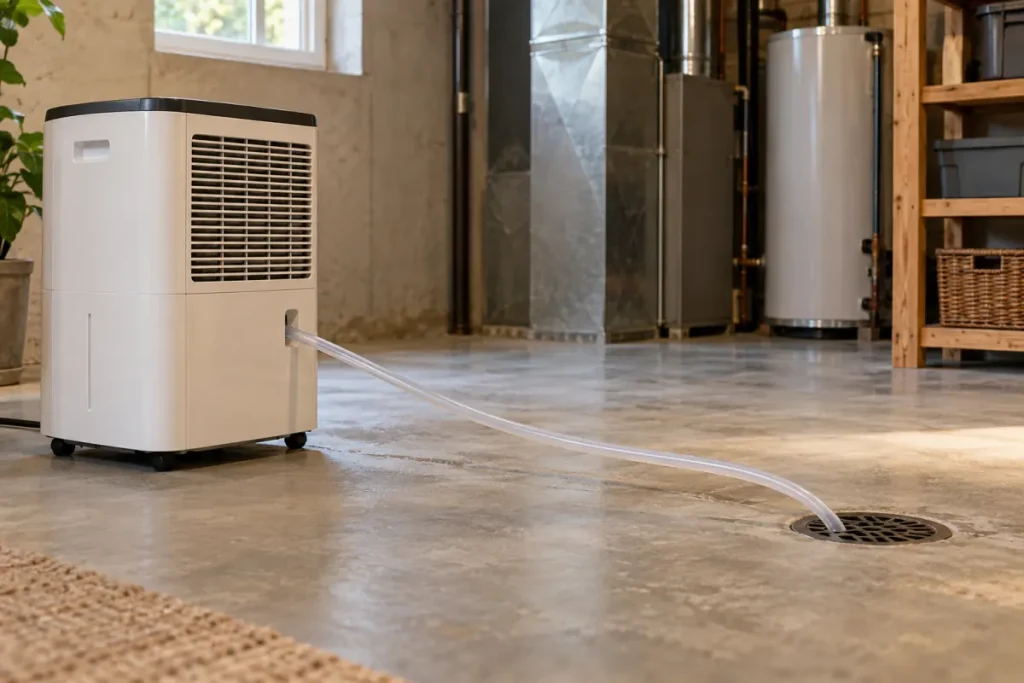
For the gravity method it describes, GE’s drainage-options page uses a hose leading to a floor drain. Do not assume that an elevated sink can accept gravity flow from a lower appliance outlet. If your route needs to lift water, review the pump option and its model-specific limits instead.
Avoid creating a route that crosses a walkway or leaves the appliance on an improvised stack of objects. A shorter, unobstructed route is easier to inspect, but the permitted arrangement still comes from the manual and your site conditions.
3. Connect according to the manual, then inspect externally
Follow the manufacturer’s shutdown and connection sequence. Confirm which cap, plug, or adapter belongs to that mode and whether the collection bucket must remain installed. GE’s guidance says its described units still require the bucket; do not generalize that instruction to an unfamiliar design.
Use the specified connection and inspect it for visible leakage. Avoid overtightening or using sealants simply to make an incompatible fitting seem secure. If the manual calls for a washer or other seal, verify the correct part. Keep the outlet positioned as instructed; GE specifically discusses avoiding an outlet submerged in water.
4. Observe actual drainage
After the unit is set up and operated as directed, check the external connection, hose path, destination, and bucket behavior. A hose that appears connected has not yet demonstrated successful drainage.
Record when you observed water reaching the destination and whether any water appeared elsewhere. An absence of flow during one brief check does not establish failure: the unit may not have collected water during that period. Do not pour water into an appliance port or bypass a switch to simulate a test.
If water leaks or the arrangement is not behaving as the manual describes, stop operation and follow the manufacturer’s troubleshooting guidance. Our guide to an apparently empty bucket helps separate drainage from collection, while the maintenance record keeps later checks together.
Keep one record of the completed arrangement
Save the manual reference, hose specification, route notes, and first observed result. Revisit the route if the appliance, hose, or destination changes. Continuous drainage reduces bucket-emptying work; it does not make the setup maintenance-free or repair moisture entering the building.